Getting started
Adding DataObjects.Net to your projects
Open NuGet Package Manager for the project and search for DataObjects.Net:
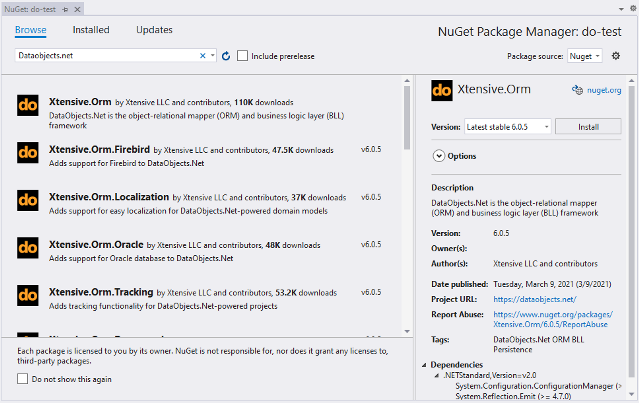
Install DataObjects.Net package.
The package will automatically install all dependencies and DataObjects.Net.
Install desired data providers.
Core package does not contain any providers. So install package for the provider (or providers) you are going to use.
Install DataObjects.Net extensions (optional).
Extensions are small projects that extend standard functionality of DataObjects.Net.
Under the hood
For a project to be a valid DataObjects.Net project, it should meet some specific requirements. NuGet packages apply the required changes to project files on the fly during the installation.
Anyway, here are the requirements so you can get familiar with them:
Project must reference Xtensive.Orm assembly and a specific database provider (e.g. Xtensive.Orm.Oracle).
Project should import
DataObjects.Net.targetsfile. The file contains a bunch ofMSBuildtasks that are executed during project build process.Depeding on project, Nuget packages are installed either to a directory relative to the project directory or a spectial directory for all packages (e.g. for Windows it might be
C:\Users\<user name>\.nuget\packages,MSBuildhas built-in variable for it). So old-fasion projects, such as .Net Framework projects, are likely to have imports within *.proj file similar to this:<Import Project=”..packagesXtensive.Orm.6.0.0DataObjects.Net.targets” />
Newer projects no longer contain imports within project file. They usually have some additional generated *.targets files in the
objdirectory where imports are gathered from all installed packages of the project. In this case Import can be similar to this:<Import Project=”$(NuGetPackageRoot)xtensive.orm6.0.5buildnetstandard2.0Xtensive.Orm.targets” />